Tag Archives: emergency items

First Aid Kits for Dogs

When It comes to Prepping we often think of first aid kits; categorizing them by illness or injury, but rarely do we hear of first aid kits for dogs. Certainly, this has crossed my mind over the last few weeks, pulling out first aid kits, making sure they are stocked. What about Mora (our dog), what about other people’s dogs, do they have kits? So I decided to break down our kit and share it because we all know how important our dogs are, and keeping them safe is a huge priority!

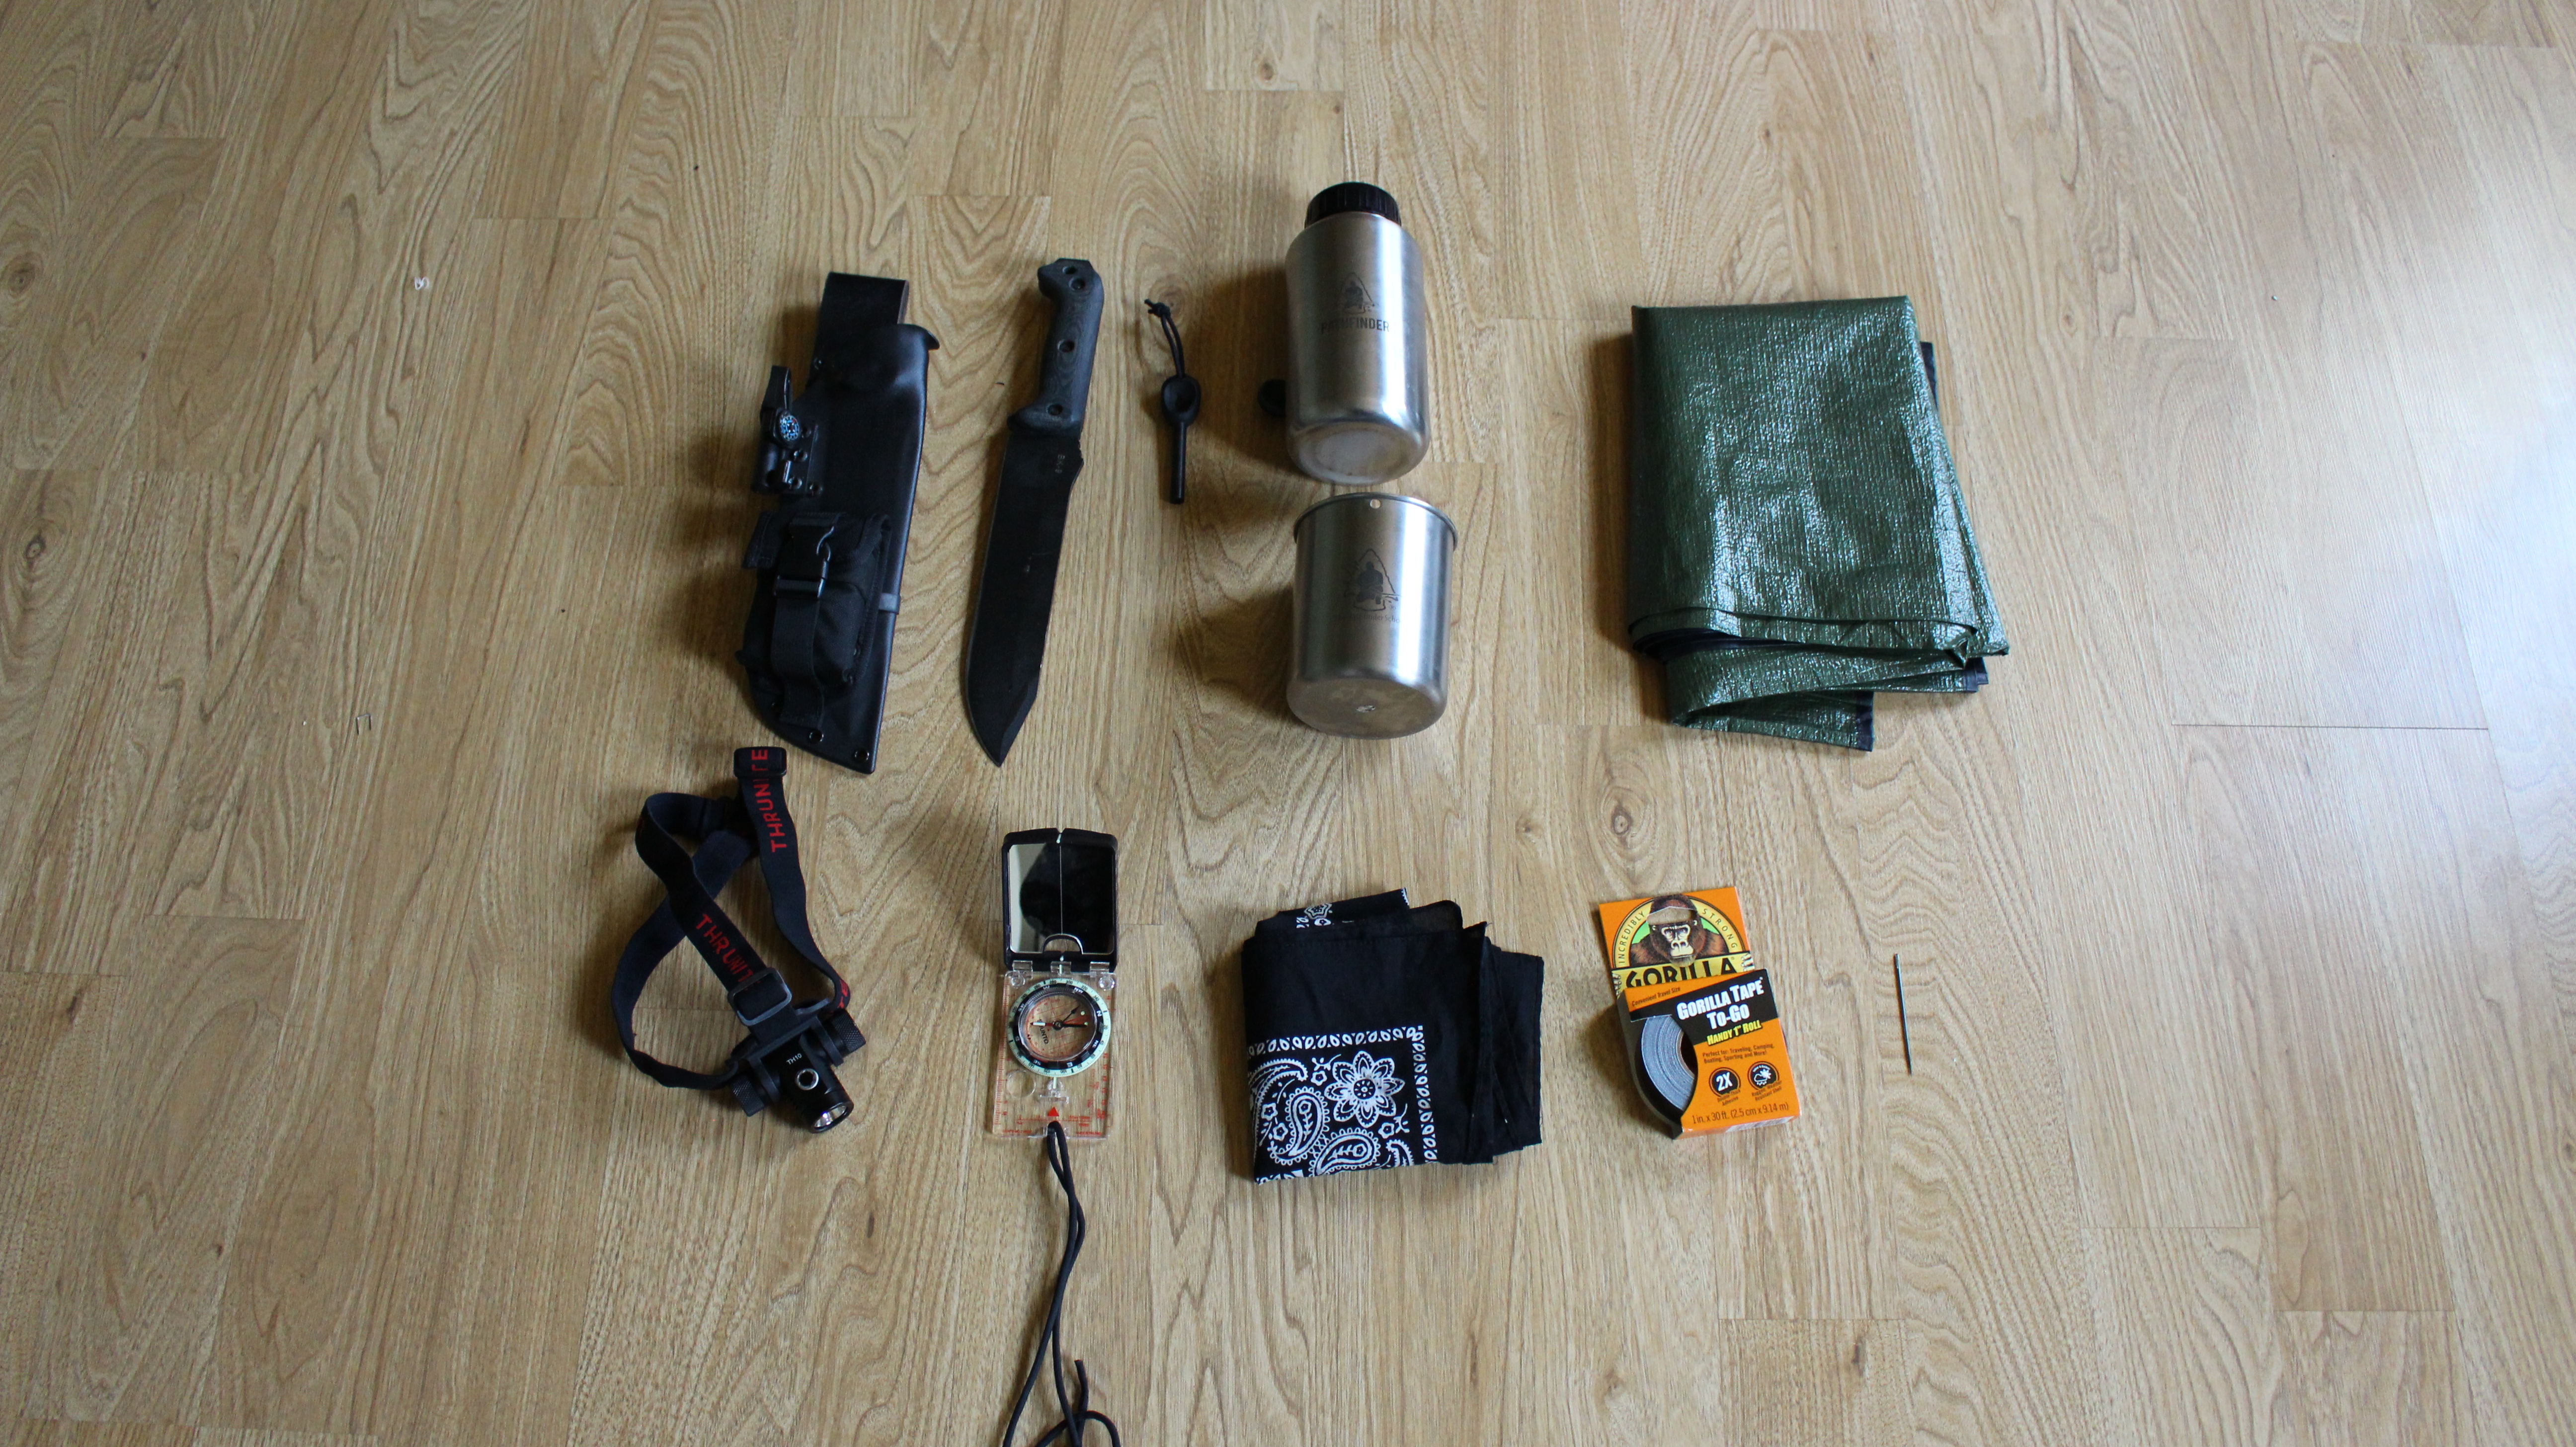
Starting out we will go through the basic at-home kit. We will cover a few things to add to the kit if you are hiking, camping, or in the field with your dog at the end.

Main Kit

Wound Care

  • Inflatable collar – these are great to help keep your dog from licking a rash, incision, or infection. Having an inflatable one saves you room in your kit as it packs down small. The Kong Cloud comes in sizes xs-xl.

  • Deodorizing bath wipes – these can help you clean up a cut so you can get a closer look, or help get rid of dander buildup causing irritation to your pet. Nature’s Miracle is a great brand and is alcohol-free.

  • Styptic Powder – great for if you accidentally cut the wick of their nail. It will stop the bleeding right away, styptic powder comes in both unmedicated and medicated to help relieve pain.

  • Saline wash – the works best to clean out wounds and get them ready for prep.

  • Liquid bandage – for minor cuts. Nutri-vet is the one in our kit. It seals up the cut to prevent dirt or bacteria from getting in. It creates a waterproof film and tastes bitter to prevent licking.

  • First aid spray – similar to a liquid bandage, because it protects the wound from dirt and bacteria. This uses collagen to help stop the bleeding and promote healing. I have on hand one from Pet-Ag and has Bittrex in it, deterring licking and biting of the wound. Once dry, you can pair with a nonstick dressing on larger wounds.

  • Nonstick dressings – buy a box of your preferred brand and split the dressings between your first aid kit and the dog first aid kit. Putting them in both kits instead of storing them in one or the other, ensures you have what you need when grabbing either kit.

  • Bitter Bandage – you can use any self-adhering wrap, but again the bitterness deters dogs from chewing their injury. Nutri-vet is the brand I have on hand.

  • Pain medication – the most common option for this is aspirin. Nutri-Vet makes this in different sizes and doses according to pet size. While another option is a company called Licks, which has many supplements, including a pain reliving one that comes in liquid treat form.

  • A muzzle – muzzle training is a good thing to do with all dogs, because in the case of an emergency when they are in pain, you don’t know how they’ll react. A muzzle can be a good way to keep everyone safe and get your dog attended to faster. If they are muzzle trained prior, it will make muzzling in an emergency less stressful and better all around.


Other First Aid Items

  • Eyewash and Ear wash  – there are many products for either or (Nutri-Vet ear cleanse is my preference, Burt’s Bees saline eyewash is my preferred eye rinse.) However, I recently discovered a product that is antimicrobial and made for both ears and eyes, saving you space in your kit. This dual-purpose solution is Theracyn Antimicrobial Ear and Eye Wash.


  • Pet Pectillin – this helps to relieve diarrhea for your dog and replaces electrolytes they’ve lost from having diarrhea.

  • Canned pumpkin – this helps with the opposite problem. If your dog has constipation a tablespoon of pumpkin puree (not pumpkin pie filling) will help get things moving. Another option is to keep powdered pumpkin on hand and mix it as needed. That way, you won’t waste any either.

  • First aid book pertaining to dogs – consequently, having a quick reference to guide you through situations can be very helpful in stressful moments. They come in pocket guides for a quick reference or larger books for more in-depth knowledge.


For On The Go

When creating a first aid kits for dogs when you’re in the outdoors (hiking camping, in the field training or hunting) I would grab the wound kit as a base (minus the inflatable collar). Also, to the wound care kit, add the following:

  • A safety vest- this makes your dog high visibility and lets others know that what they see moving through the woods is not a threat or prey.

  • Boots – you can use these as a preventative measure to keep your dog from hurting their paws on rocks or very hot surfaces. Furthermore, you can also slide the boot over and injury on their foot to prevent them from messing with it.

Hopefully, this break down of our dog-geared first aid kit helps you get started on your own! If you already have a first aid kit for your dog, how similar is it to ours? Is there anything missing from our list that you would add?

How to Start a Food Stockpile

So You Want to Start a Food Stockpile?

How to start a food stockpile has been a big question lately. With the weather doing crazy things it has people thinking about “doomsday” and how they can better prepare themselves. One of the best ways to prepare for a situation like that is to be ready to hunker down, this includes having a good stockpile of food. A good stockpile of food doesn’t just mean having a large quantity of food (even though that is part of it.) Having a good stockpile means having food that you eat on a normal basis, is delicious raising morale when it’s low, and foods that are easy to prepare.

Building a Stockpile

Where to start:

When starting a food stockpile it will take some time and preparation. The first place to look when you start a food stockpile is your very own pantry. Looking in your pantry can help you see what food is part of your diet in everyday life. This way of stocking up has three huge benefits:

  1. Having things you eat regularly helps you rotate through your stockpile so that nothing spoils. This prevents you from wasting food AND money!
  2. It is easy to prepare these items as you are familiar with them and use them on a semi-regular basis. For example, if you have rice kept on hand, chances are you have multiple recipes where rice is an ingredient. This saves time because you know how to prepare it and gives you a little variety as you are able to swap out recipes.
  3. It builds morale! Food often carries a sense of nostalgia and good memories for us. Having food that is associated with good times just gives an extra boost of positivity on days when it is really hard to think of going forward. Not to mention, that when you eat something that tastes SO good, you just feel good too!


How to Stockpile:

Now that you have a list of food that you keep on hand at all times, you can start shopping for these items. This can be very overwhelming and can be very expensive if you just jump in all at once, you can take the stress off of starting your food stockpile by breaking it down into sections – this helps allow you to shop for the best deal as well!

A basic breakdown of categories to help you build your food stockpile would be:

  • Canned veggies
  • Rice and Pasta
  • Canned fruit
  • Sauces
  • Canned meat

You can absolutely adjust this to whatever your preference or needs are. Once you have the categories you can shop the sales!

There are four ways to get the most for your dollar when starting your food stockpile and maintaining it from there:

  1. Shop sales! Seriously, get to know your local variety of grocery stores and their weekly ads! You can generally figure out the rotation of when they will have different categories on sale, it is usually a six-week rotation. The items that are advertised in the weekly ads are “loss leaders,” which are to get you in the store to buy other items while you are there. If you have a very strict budget STICK to your list and just pick up the items of the ad for your stockpile.
  2. Coupons! Coupons are so much more than just the clip from the newspaper kind these days. While those are great, most stores have their own apps these days loaded with virtual savings. You can stack these with paper coupons as well if you get the chance. Coupon apps are great to watch before and after holidays especially. A couple of days after Easter I was able to score hams for $1 per pound thanks to Target’s Cartwheel app, and now we have those saved in the freezer.
  3. Another great place to catch deals for your stockpile is the store’s grocery clearance and less than perfect product section. Many stores will mark down items for at least 30% when the packaging is damaged. This can add up to great savings for you. Just check over the product and make sure that you are comfortable with eating the food inside the packaging. An example of this is that not everyone is comfortable with dented cans, they don’t bother me so I ended up with a 6pack at .25 cents a can! You can also get steep discounts when a store is discontinuing a product so make sure to check for clearance!
  4. Last but not least is the good old dollar store! They are a great place to pick up canned food as well as pasta, rice, and other longterm storage foods!


Specialty Items

The last thing to touch on when talking about starting a food stockpile is specialty items. Specialty items are your Mountain House, Backpacker’s Pantry and other freeze-dried meals as well as options like MREs. These tend to be spendier options than your average food. I like to just keep a few of our favorite varieties on hand for every once in a while.  By making them a supplement to your food stockpile and not the bulk of it, it allows you to watch for sales and again clearance at sporting good stores and online retailers, making them much more affordable. For MREs I watch for deals on Amazon. I do this for freeze-dried meals as well, but I also look in brick and mortar stores for clearance when a new season is coming and the camping gear is resetting, making them much more budget friendly.

These are my tips to help you with starting a food stockpile, I hope they helped you out! Make sure you share any tips you have for starting and maintaining a food stockpile in the comment section below. I love to hear from you!


how to start a food stockpile


The 10 C’s of Survivability

We have already gone over the original 5 C’s of Survivability. Now we will cover the next 5 C’s that will better round out your kit. The 10 C’s of survivability are how I start off every kit or list of gear I need. Each piece of the 10 C’s kit is very important to have on you when out in the woods.

Candling Device – Having light can turn any situation into a much safer more relaxed environment. Being able to see what you are facing is huge in any situation and having the ability to have the sense of sight in a dark area makes basic movement that much easier. I usually always carry a flashlight on me whether it’s just a small one in my pocket or a much larger more powerful one in my pack or vehicle. One of the best options for in camp is a headlamp, wearing a headlamp allows you to light up whatever you are looking at while still having both hands free to perform task around camp.

Compass – Having a compass that points north and helps you find your escape route is very important. Just as important is knowing your area and having a plan so when things don’t go as planned you have a general direction to head to avoid major threats. knowing which direction the highway is or a major river makes the compass that much more of a tool to help aid you in self-help or self-rescue. Also, having a compass with a mirror and magnifying glass makes your compass a very versatile piece of kit.

Cotton – Having a cotton bandana is a very important and useful piece of kit. It can be used to help in first aid, filtering water, can be turned into char cloth, protects from the sun and the wind, and when wet it can be used to help cool you down on a hot day. There are tons of uses for a cotton bandana and the uses are extended if you choose to carry a shemagh which is basically the same thing only larger.

Cargo Tape – Having Cargo tape I prefer Gorilla Tape can aid you in many ways as well. It can help with repairs, help waterproof holes in tarps or clothes, can be broken down into a flammable tinder bundle, not to mention all the other things that can be made out of tape such as bowls and cups.

Canvas Needle – Having a sail needle doesn’t seem like a very important piece of kit to carry but it can perform in many different ways. Having a sharp sail needle can be used to help dig out slivers or splinters, it can also be used to punch holes in leather, or start a hole in a piece of wood to start carving out a bow drill set. If the needle is magnetized it can also be turned into a compass to help find your north/south line to help aid in finding your way back to camp.

Having all 10 C’s allows you to have all the tools needed to find your way, shelter in place, or safely navigate through the woods. So all of my kits Start with the 10 C’s which are Cutting, Combustion, Container, Cordage, Cover, Candling device, Compass, Cotton, Cargo tape, Canvas needle. These basic pieces of gear will help keep you safe and somewhat comfortable in the woods. also by having pieces that serves more than one purpose can help you that much more, such as a compass that also has a mirror.

5 C Survival Kit

The 5 C’s of Survivability are 5 items that are the most helpful to have in any emergency. They are also the hardest to reproduce out of natural materials and burn the most calories to make. So by carrying them with you at all times, you will always find yourself in a much better state of well being no matter what might happen in the woods.

I will put them in order of how I feel they are most important.

  1. Cutting Tool – My cutting tool that I carry most often is a fixed blade knife whether it’s my BK9 or my Mora Bushcraft Black I always have a knife at my side. Some other options could include a macheteax, or a multitool.
  2. Combustion Device – Fire is very important in any situation it is a moral booster as well as a protector of bugs and other animals. It also lights up camp at night, keeps you warm on a cold day, and can be used for cooking or treating water. So haveing a reliable fire starter is one of the most important parts of your kit. I always carry a good old Bic lighter as well as a Ferro Rod along with some Wet Fire or Live Fire to make sure I can start and maintain a fire in most conditions.
  3. Container – Having a container that you can carry water over distance with as well as cook and treat water is a very important thing to keep in mind. I carry a stainless steel water bottle that I can use to not only carry water but I can place it in a fire to boil water for drinking or cooking anything I may find along the trail.
  4. Cordage – Having cordage or rope with you can help aid you in many tasks. It can tie logs together to make a raft, it can be used to help build shelter, you can make a tripod out of long sticks to help cook or smoke anything you find to eat. I always carry 550-paracord with me that I keep in my pack just for emergency purposes only. Other options would be Zing-it which still has a very strong tensile strength but is much lighter. Also, tarred bank line is used by many bushcrafters for the same reason.
  5. Cover – Having shelter from the elements is very important to staying healthy and safe when dealing with weather. The very first defense from weather is the clothes on your back. Always make sure to dress according to the conditions of the day ahead of you. Wearing a swimsuit in a snowstorm will make shelter building a very top priority over anything else. Making sure that not only are you dressed for the day ahead of you but also having something like a light coat or rain jacket can make a surprise rain seem like just another walk in the park. I try to always dress for the conditions, have a coat to help keep me dry or warm, plus I carry a space blanket that I can make a shelter out of and also keep me warm, safe, and dry.

The 5 C’s was a system made up by Dave Canterbury. All of my kits have a minimum of the 5 C’s Dave has also added 5 more C’s to round out a 10 piece kit that will aid you even further. I will be adding those 5 C’s in another post so stay tuned for future posts.

google.com, pub-7066259607393589, DIRECT, f08c47fec0942fa0